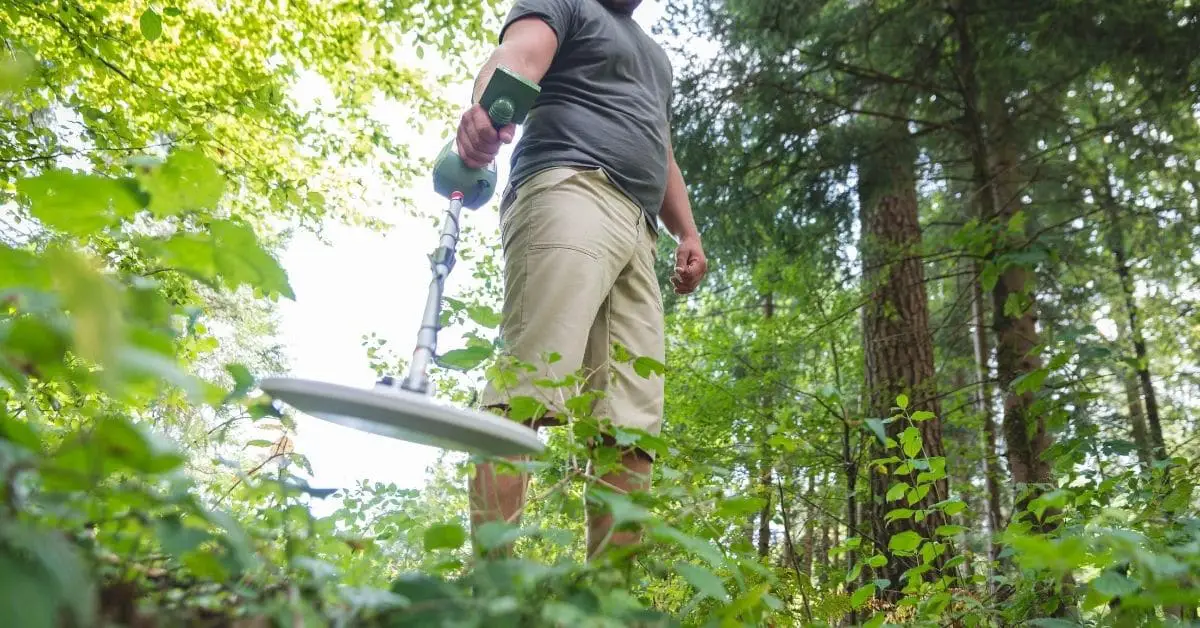
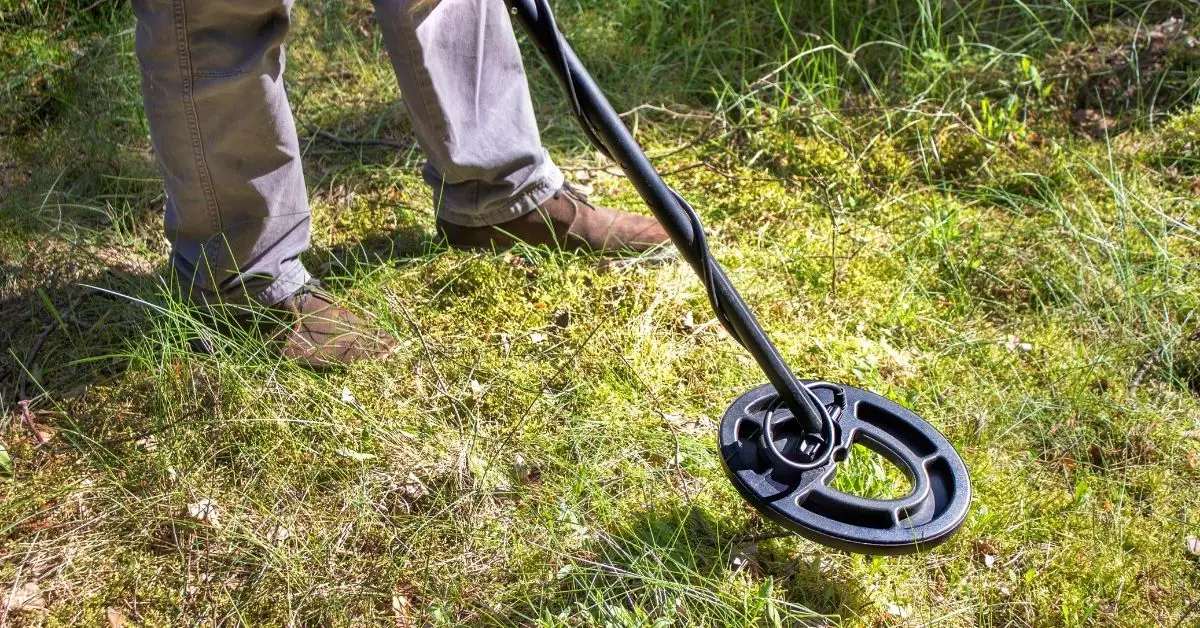
We’ve all been there—you come back from being out and reach for your pocket only to find it horrifyingly empty. Losing your keys can be a major inconvenience, but we’ll show you how to find lost keys with a metal detector in only 6 steps.
To find lost keys with a metal detector:
- Don’t panic; it will affect your memory
- Narrow the search area to where they most likely are
- Buy or rent a metal detector, or call a professional to come out
- Divide the search area
- Look for clues
- Sweep slowly, and check each section twice
Those are the basic steps, but there’s a lot more you should know before you begin. We’ll cover each step in a lot more detail below, as well as tips on how to make sure they can be found and what to do if you still can’t find them.
Don’t Panic and Lose Your Memory

It’s only natural to immediately be gripped with anxiety when you realize your keys have gone missing. However, this is actually counterproductive. Allowing yourself to be overwhelmed with panic will only:
- Make it harder to think clearly about where you could have lost them
- Cause you to potentially make silly decisions about how to find them
- Might make you blind to obvious clues right in front of you
Of course, stopping the mounting panic and lowering your anxiety can be easier said than done for many people. Just take a few deep breaths, don’t think too hard about the consequences, and remind yourself that you have plenty of options to get them back.
Make Sure Your Keys Can Be Found
We’ll only cover this briefly, but a lot of people worry that their keys aren’t detectable by metal detectors. The good news is that in 99% of cases, they absolutely are.
Keys are typically made of:
- Brass, which is made of zinc and copper and is easily detectable.
- Silver—if you opted for fancier or more expensive keys, they could be silver. Silver is thankfully still very detectable.
- Aluminum, which is detectable
Even if your keys aren’t made of metal for some reason, your key ring or other accessories will be—so don’t worry about not being able to find them with a metal detector. The only notable exception is stainless steel, which can be very difficult to detect.
Narrow Down Your Search Area

Once you’ve calmed down, the second thing you should do is start to think clearly about the area where you may have lost them. This is partially why it’s important to remain calm. It’s really best if you are able to calmly and rationally retrace your steps of where you’ve been.
Here are some good ways to narrow down a search area:
- Retrace the path you took, such as from your car to the door. Mark an area around that path with a reasonable buffer—maybe 10 feet. Unless they got thrown, they aren’t going to be much further than that.
- Try and remember any detours you made, or maybe reasons why you might have taken a detour. It’s very common to just be on “autopilot†mode if you’re doing something routine, so remembering something out of the usual you did will help you find exactly when you lost them.
- Put yourself back in the mindset you were in when you think you lost them. Were you rushing home after work? Concentrating on carrying groceries back from the car? Putting yourself back in those circumstances will help you remember places you might have dropped them.
Make Sure You Didn’t Lose Them Elsewhere
A good place to start is to try and remember the last place you actually know you had them, whether that be your home, or work, or even a store. It would be a drag to spend a lot of time and effort trying to find them in the grass somewhere only to get a call from the local shop saying they found them!
Before going further, make sure you know there’s a very good chance you did actually lose them in the area you want to search in with a metal detector.
Decide How Your Going To Get a Metal Detector
Once you’ve narrowed down your search area, it’s time to actually get a detector to work with. You have several options, all of which we’ll cover below.
Buy One for Yourself
The first and easiest option is just to purchase one for yourself! This might sound like going a bit overboard, but don’t discount it right off the bat. Metal detectors are both very useful and very fun. Buying one just for a one-off search to find your lost keys might not make sense but think of it more like investing in a fun and useful tool.
Having a metal detector around allows you to:
- Be ready in case you or a family member loses keys, a ring, or any other metallic item again
- Explore beaches, forests, churchyards, and many other places for cool finds
- Find buried stakes, rebar, or other items before digging in your garden
- Effectively clean up spilled nails, tacks, or other dangerous objects outdoors
Those are just a few examples. Buying your own metal detector both solves your immediate problem of finding your lost keys and also opens up a whole new world of possibilities at the same time! Each metal detector is a bit different, so refer to the user’s manual to learn how to work it.
Rent One for the Day
If you either don’t want your own metal detector right now or just can’t afford it, there is a possibility that you could find one to rent for the day.
This isn’t a surefire option, as there aren’t typically any actual brick and mortar stores that have this service. Instead, it would be best if you looked for hobbyists in your area who might have a spare detector they’ll let you rent for a couple of hours.
In order to do this, try:
- Looking up metal detector clubs near you
- Posting on a community marketplace like Craigslist or Facebook
- As a last resort, you could try talking to local hardware stores to see if they know anyone who has one you can borrow, or if they have a floor model you could rent
Call a Specialist
If you would rather not go through the trouble of finding or renting your own metal detector, the good news is that you still have options. In fact, if you aren’t afraid of spending a little money, then paying an expert to find them for you is likely the best option. There are metal detecting hobbyists everywhere. The trick is just to find them and convince them to help.
The easiest way to do this is to use The Ringfinders website. On that site, you will find a directory of all the nearby hobbyists who are willing to help out with these sorts of requests.
Here are a few things to know before you call, though:
- These people don’t do this as a full-time job; they’re more like community helpers. You’ll have to work around their availability.
- Most ring finders charge based on reward—they ask that you pay them what you think is a fair reward for finding your item.
- If you live far away from them or need something done at an unusual hour, they’ll also typically charge a “callout fee,†which is usually around $20 to $25.
- Digging Deeper: How Metal Detectors Work – A Comprehensive Guide
Divide The Search Area
So, you’ve got your detector, either rent or bought, and you’re ready to hit the field. Now what? Well, don’t just dive straight in and start swinging it around. Doing it that way makes you liable to miss patches or forget where you’ve already looked.
Instead, do this:
- Look for places where it makes sense to divide the search area up
- Use natural landmarks, like a tree or bush, to help you divide the area into smaller chunks
- Make the chunks small enough that it will only take you about 5 minutes to search each one
Dividing the search area up helps you organize your efforts and keeps you from losing track or being sloppy during the search.
Don’t Rely on Your Memory
It’s probably tempting to try and keep all the chunks in your head, but it’s best not to. Once you begin searching, all of your focus is going to be on the detector and where you’re sweeping it. It makes it very easy to forget:
- Where the divisions were
- Where you still need to search
- How far you still need to go in your current section
Instead, use rocks, twigs, or any other obvious item to mark out sections. That way, you never have to worry that you accidentally missed spots or any other error.
Mark Where You’ve Been
This might sound silly, but if you are searching a large area then you should be marking out where you’ve already searched thoroughly. Again, this can be rocks, twigs, spare tools from the car—anything to mark a section as “searched thoroughly.â€
If your search area is rather small, then you might be able to skip this. If it’s anything larger than a few sections, though, definitely use something to keep track. Think of it like mowing a yard, but without having any indication of where you’ve already mowed—the longer you go, the harder it gets to remember where you’ve been.
Look For Helpful Clues
As you appraise a section of your search area, the first step should be to scan it quickly with your eyes for any potential helpful clues. There are a number of potential clues, but we’ll cover a couple of important ones.
Are There Footprints Around?
If you find footprints, it obviously means someone has been through there recently, and that someone could have been you. Even if you don’t remember walking that way, it is still worth checking out. You could have been on autopilot or detoured to do something that you don’t remember.
Sweep the path of the footprints first, including a foot or two on either side.
Have the Leaves or Ground Cover Been Disturbed?
The second clue you should look for is any disturbance of the ground cover. Look for:
- Strange patterns in the ground cover
- Missing patches
- Spots that look out of place
This is especially true of snow since there will be a noticeable hole in the snow where a heavy object like keys fell. Sweep your detector around the area slowly once or twice. Or, you could just brush the cover aside with your hands to look, although you risk accidentally moving the keys too.
Sweep One Area at a Time

It’s usually good to check for clues and search likely areas in the section first, but if that doesn’t work then it’s time to move on using the detector to sweep the entire section.
It helps to think of it like mowing a lawn. Start on one side and sweep your detector from side to side in about a 45-degree arc in front of you as you walk. As you sweep, make sure to keep the bottom of the detector:
- Is parallel to the ground
- At least 3-4 inches close to the ground
Since you’re trying to detect something (hopefully!) above ground, you don’t need to be very close to the ground. It’s best to be a few inches off the ground for this purpose.
Go Slow
With your anxiety and impatience pushing you, it can be tempting to move quickly. However, you really need to take your time and make sure you are sweeping in long, slow motions.
Sweeping too quickly carries the risk of:
- Having poor form
- Missing hits (places where the detector goes off)
- Going off course and inadvertently missing spots
In general, going fast leads to poor form which leads to missing hits. You might see experienced detectors moving fast, but they can only do that because the perfect form is in their muscle memory, and they know exactly what a hit is and what isn’t.
Sweep Twice
Just like the old carpenter’s saying—measure twice, cut once. Go back over the section again, preferably opposite of the direction you were going. For example, if you swept north and south, this time, walk east and west in rows. This helps make extra sure you checked every spot in that section.
Prepare for False Alarms
You’ll probably get a few hits during the search, which will make your heart race—only to find out there was a soda can tab or old screw laying around. It’s just in the nature of metal detecting to get false hits. Thankfully, since you are looking for keys that are above ground, you can easily just look and see what it is.
If you get a hit but don’t see anything on the surface, then just ignore it. It means there is something metal underground, but that doesn’t matter to your current goal.
Widen The Search Area and Rethink
Once you’ve gone through every section of the search area twice, you can be reasonably sure that your keys aren’t here.
This isn’t a great feeling. However, try and think of the bright side, because it means:
- You know at least one place they definitely “aren’tâ€!
- They are likely lost somewhere else, hopefully indoors!
Even with that little silver lining, it’s still heartbreaking to come up empty-handed after all of that. Here are some tips on where to go next.
Can I Use a Metal Detector to Find My Keys Inside?

People commonly ask if they could use a metal detector to find a ring or keys or some other item inside. Unfortunately, the answer is very likely no, and it has to do with how metal detectors work. We won’t go deep into the complicated science behind them, but it’s very useful to know a bit about how they work before using one. Here’s a basic rundown:
- The detector creates an electromagnetic field which extends below it
- Any item that conducts electricity well, like most metals, will actually absorb some of the energy from that magnetic field as it passes over it
- The item that absorbed the energy then creates its own magnetic field as a reaction
- The detector can sense the changes in energy and the magnetic fields to help find where the item is
Unfortunately, because of the way they work, most metal detectors won’t be very useful indoors. There are just too many other interfering items, from the studs in the floorboards to the carpet tacking to any metal brackets or pipes and more.
Reconsider the Circumstances
Now that you know they aren’t outdoors, think again about the places you ruled out before. With some time now passed, can you remember any other place you were today? Any tricky spots in the car they could have fallen?
Think Outside the Box
If you are absolutely certain that they are outdoors in the area you are searching for somewhere, and then you can, of course, try again (probably faster this time since you have practice). Widen the search area, think of all the places you might have walked. Normally a heavy object like keys won’t go far after being dropped, but stranger things have happened.
- Was there any edge or ledge they could have fallen off of?
- Are there any holes they could have gone into?
- Is there water nearby where they could be hiding?
Use questions like those to build a new search area.
Finding Lost Keys With a Metal Detector

Losing your keys outdoors is a heartbreaking event. Thankfully, a metal detector is an extremely useful tool to find your lost keys, even under snow, gravel, or any other ground cover.
Remember these 6 steps when finding your lost keys with a metal detector:
- Don’t panic, it will affect your memory
- Narrow the search area to where they most likely are
- Buy or rent a metal detector, or call a professional to come out
- Divide the search area
- Look for clues
- Sweep slowly, and check each section twice
We’re sorry to hear you are going through this, but we wish you happy hunting!

Thank you for this article.
I hope my keys might be inside.
Because i have six acres.
My keys have been missing about four weeks now.
Thank goodness my truck key was not the chipped and programmed kind.
I lost a set last April when my husband was in the hospital.
Never have found them.
Never lost a set before.
Now I have lost two sets.
I got another truck key.
It’s all the other keys I need.
Glad I could help Janis! I hope you find your lost keys.