Whether you’re looking for gold, old relics, or shiny objects, metal detecting is a great way to find what you want! Gold is easy to find if you follow the right steps, have the right equipment and location, and know what to listen for!
Gold sounds higher-pitched on a metal detector than other objects do. The rule of thumb is, more valuable metals make a higher-pitched beep, while lower-value ones sound more muted. Also, if you are only looking for gold or valuable metals, you can isolate the sounds to only recognize higher beeps.
Metal detecting is only partially luck. It’s mostly about the knowledge you gain from experience and research. Read on for tips to find exactly what you’re looking for and get the most out of your hunt!
The Sound of Gold What to Listen For
It is commonly thought that metal detectors only beep around gold or other “high ticket items.†However, contrary to popular belief, the sounds a metal detector makes are actually based on the type of object found.
Essentially, different pitches equate to different items. Then, if an area is glossed over multiple times, it will increase the beeping frequency to alert your proximity to the object.
Therefore, the primary strategy for metal detecting is to couple your listening to both the frequency and the pitch.
Frequency
When you first go over an area and start to hear a beep or two, go back over the same general place again.
Simply swing the detector across the spot until you hear the sound starting to repeat itself several times.
Note: The more consistent the sound, the more likely it’s something worth your while. You can use the chart below to quickly reference common frequencies!
| BEEP FREQUENCY | ASSUMPTION |
|---|---|
| Inconsistent | Not a good find; most likely trash |
| Only once | Likely nothing. Could also be iron or something too deep to actually track. |
| Consistent | Something definite – continue to go over the area! |
Pitch
If gold is all you’re after, you can simply listen for the higher-sounding pitches. Or you could still listen for all pitches. You never know what you’ll find!
Remember, metal detecting is about keeping an open mind; you may find things that wouldn’t usually occur to you.
The typical scale goes: iron > foil > gold > silver > pure silver, with lower to upper pitches listed respectively.
For example, diamonds don’t have metal in them. However, they may be attached to gold or sterling silver, or even some cheaper metal. These can be detected, but the diamond cannot.
So, while you may end up with more “dudsâ€, you may also get better finds by increasing the pitch range!
Prepare For a Hunt
Ask For Permission
There’s a stereotype about people going to the beach to search for treasure. That’s great, but it also makes popular beaches slightly oversaturated for new finds.
Your best bet is to scope out a rare location.
However, sometimes the best places are private. Just make sure you get permission from the property manager or equivalent for your hunt before you go!
Bring Batteries
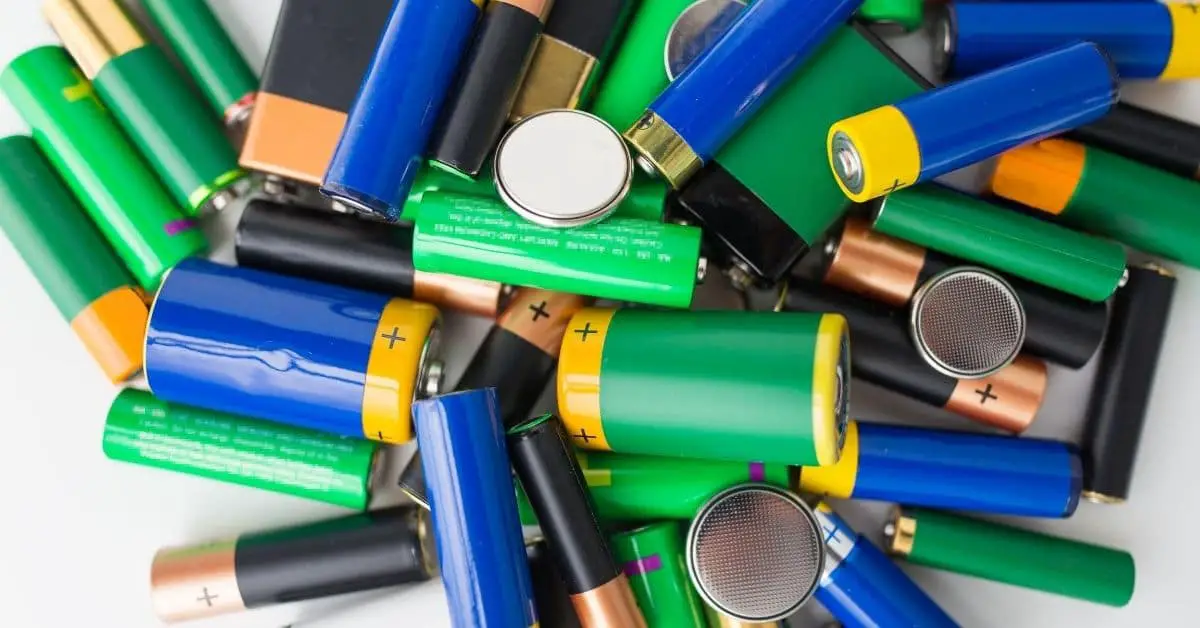
Before you go, it’s important to prepare for the worst! Instead of running home (or just having to leave early) bring some extra batteries along with you.
Simply bring an extra set of good quality batteries, or even better – rechargeable ones.
Another option is to use a solar panel battery if you’re going to be in the sun all day. That way, you can kill two birds with one stone!
Bring an Extra Detector
You could be on the hunt of your life; great location, not much saturation, finding plenty of things. And then… your detector simply decides to die. If you have a spare with you, you can fix this problem.
It’s also helpful to have a spare if you want to bring a friend along, and they don’t have one.
Or perhaps you went on a spontaneous trip to an old town. If you decided you would find more relics in that place, maybe you should use a different type of detector that’s more suitable for that situation.
Digging Deeper: Metal Detectors vs. Gold Detectors: Is There A Difference?
Hunt When The Ground Is Wet
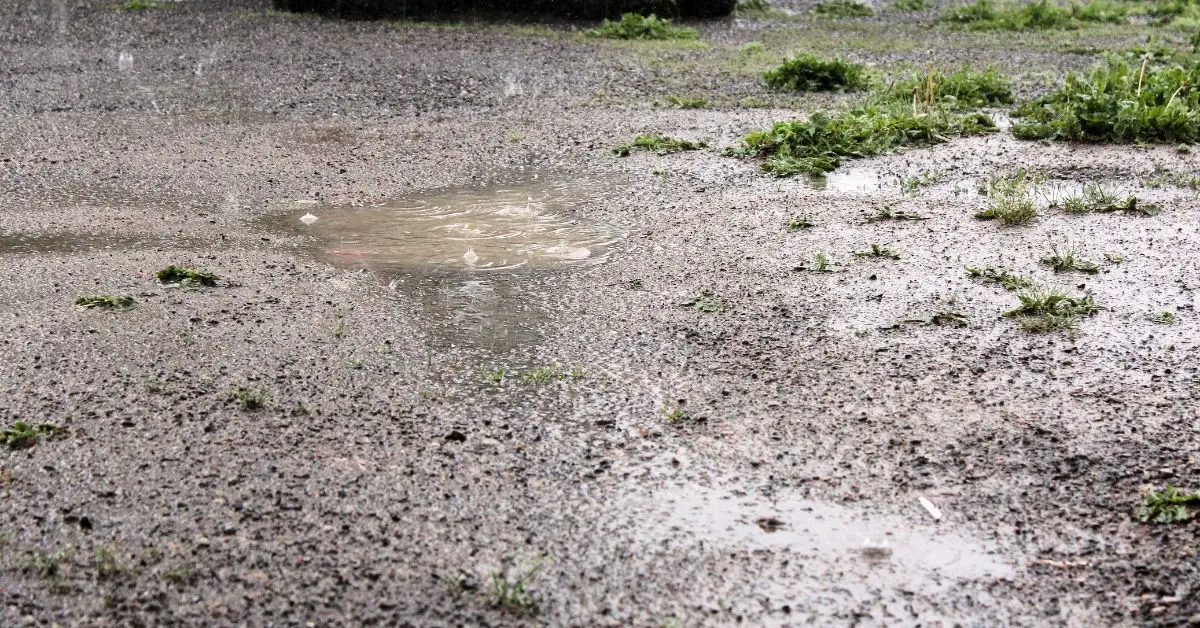
The best time to search is after it rains. This is true for a few reasons:
- The first is that it’s easier to dig in wet dirt than it is in hard dirt. This pertains to any surface type you’re looking through, like soil or sand.
- It also provides a more transparent medium to go through! This is because the conductivity is increased when the soil is damp, allowing for deeper levels of detection.
Bring Enough Supplies to Last
Say you decide to go on a quick hunt in a town you pass through. Five minutes later, you realize the ONE tool you really need is the one you left at home.
Staying prepared is key, as anything can happen – no matter the amount of time you’ve spent metal detecting in the past. Your best bet is to leave all your tools in your trunk, so even if you don’t think you need it, you can take a quick walk back to your car during a hunt.
Remember, it’s always better to have it and not need it than the other way around.
Pack More Than You Need
The thing about metal detection hunts is that there’s no definite endpoint. The earth is limitless!
So, it’s best to over-prepare for hunts that run long and for anything that could happen along the way. Bring along your:
- Proper excavation tools,
- Food and water, and
- Any other gear you know you’ll need in that location.
Use a Frisbee When Digging

Speaking of gear, there is one little trick that may seem odd but is incredibly effective.
When you decide to dig T a location, you can use a Frisbee to dig out the dirt or sand.
It also serves as a good base for the size of a hole to dig and helps preserve the place you’re where you’re hunting. Using a frisbee makes it much easier to leave no trace of your digging, which is proper treasure hunting etiquette.
General Approach
Overlapping
It’s important to track where you’ve been so you don’t completely overlap each area.
That said, a mild amount of overlap is actually key to ending up with more finds.
You can miss a lot of great things by not allowing this to happen. Most experienced hunters swear by this practice, while novices tend to overlook it because they don’t have the experience to know better.
Follow the steps below to ensure you overlap just the right amount:
- Go in a straight line, as far as you plan to go.
- Sweep the detector left and right as you walk forward.
- Make sure to go slow enough that you overlap all areas passed.
- Turn around, step a little to the side (about one or two feet away), and repeat the process in the opposite direction, heading back toward where you started.
If you follow these steps, you have a high chance of being successful.
However, there are a few things that need to accompany this method to ensure you get total coverage:
- Make sure you don’t go too fast and that your sweeps are controlled.
- Also, make sure the coils are parallel to the ground – don’t lift the head, as it will change its perception of the depth.
This will maximize the method presented for the best results and findings!
Tracking & Placeholding
Get a PinPointer
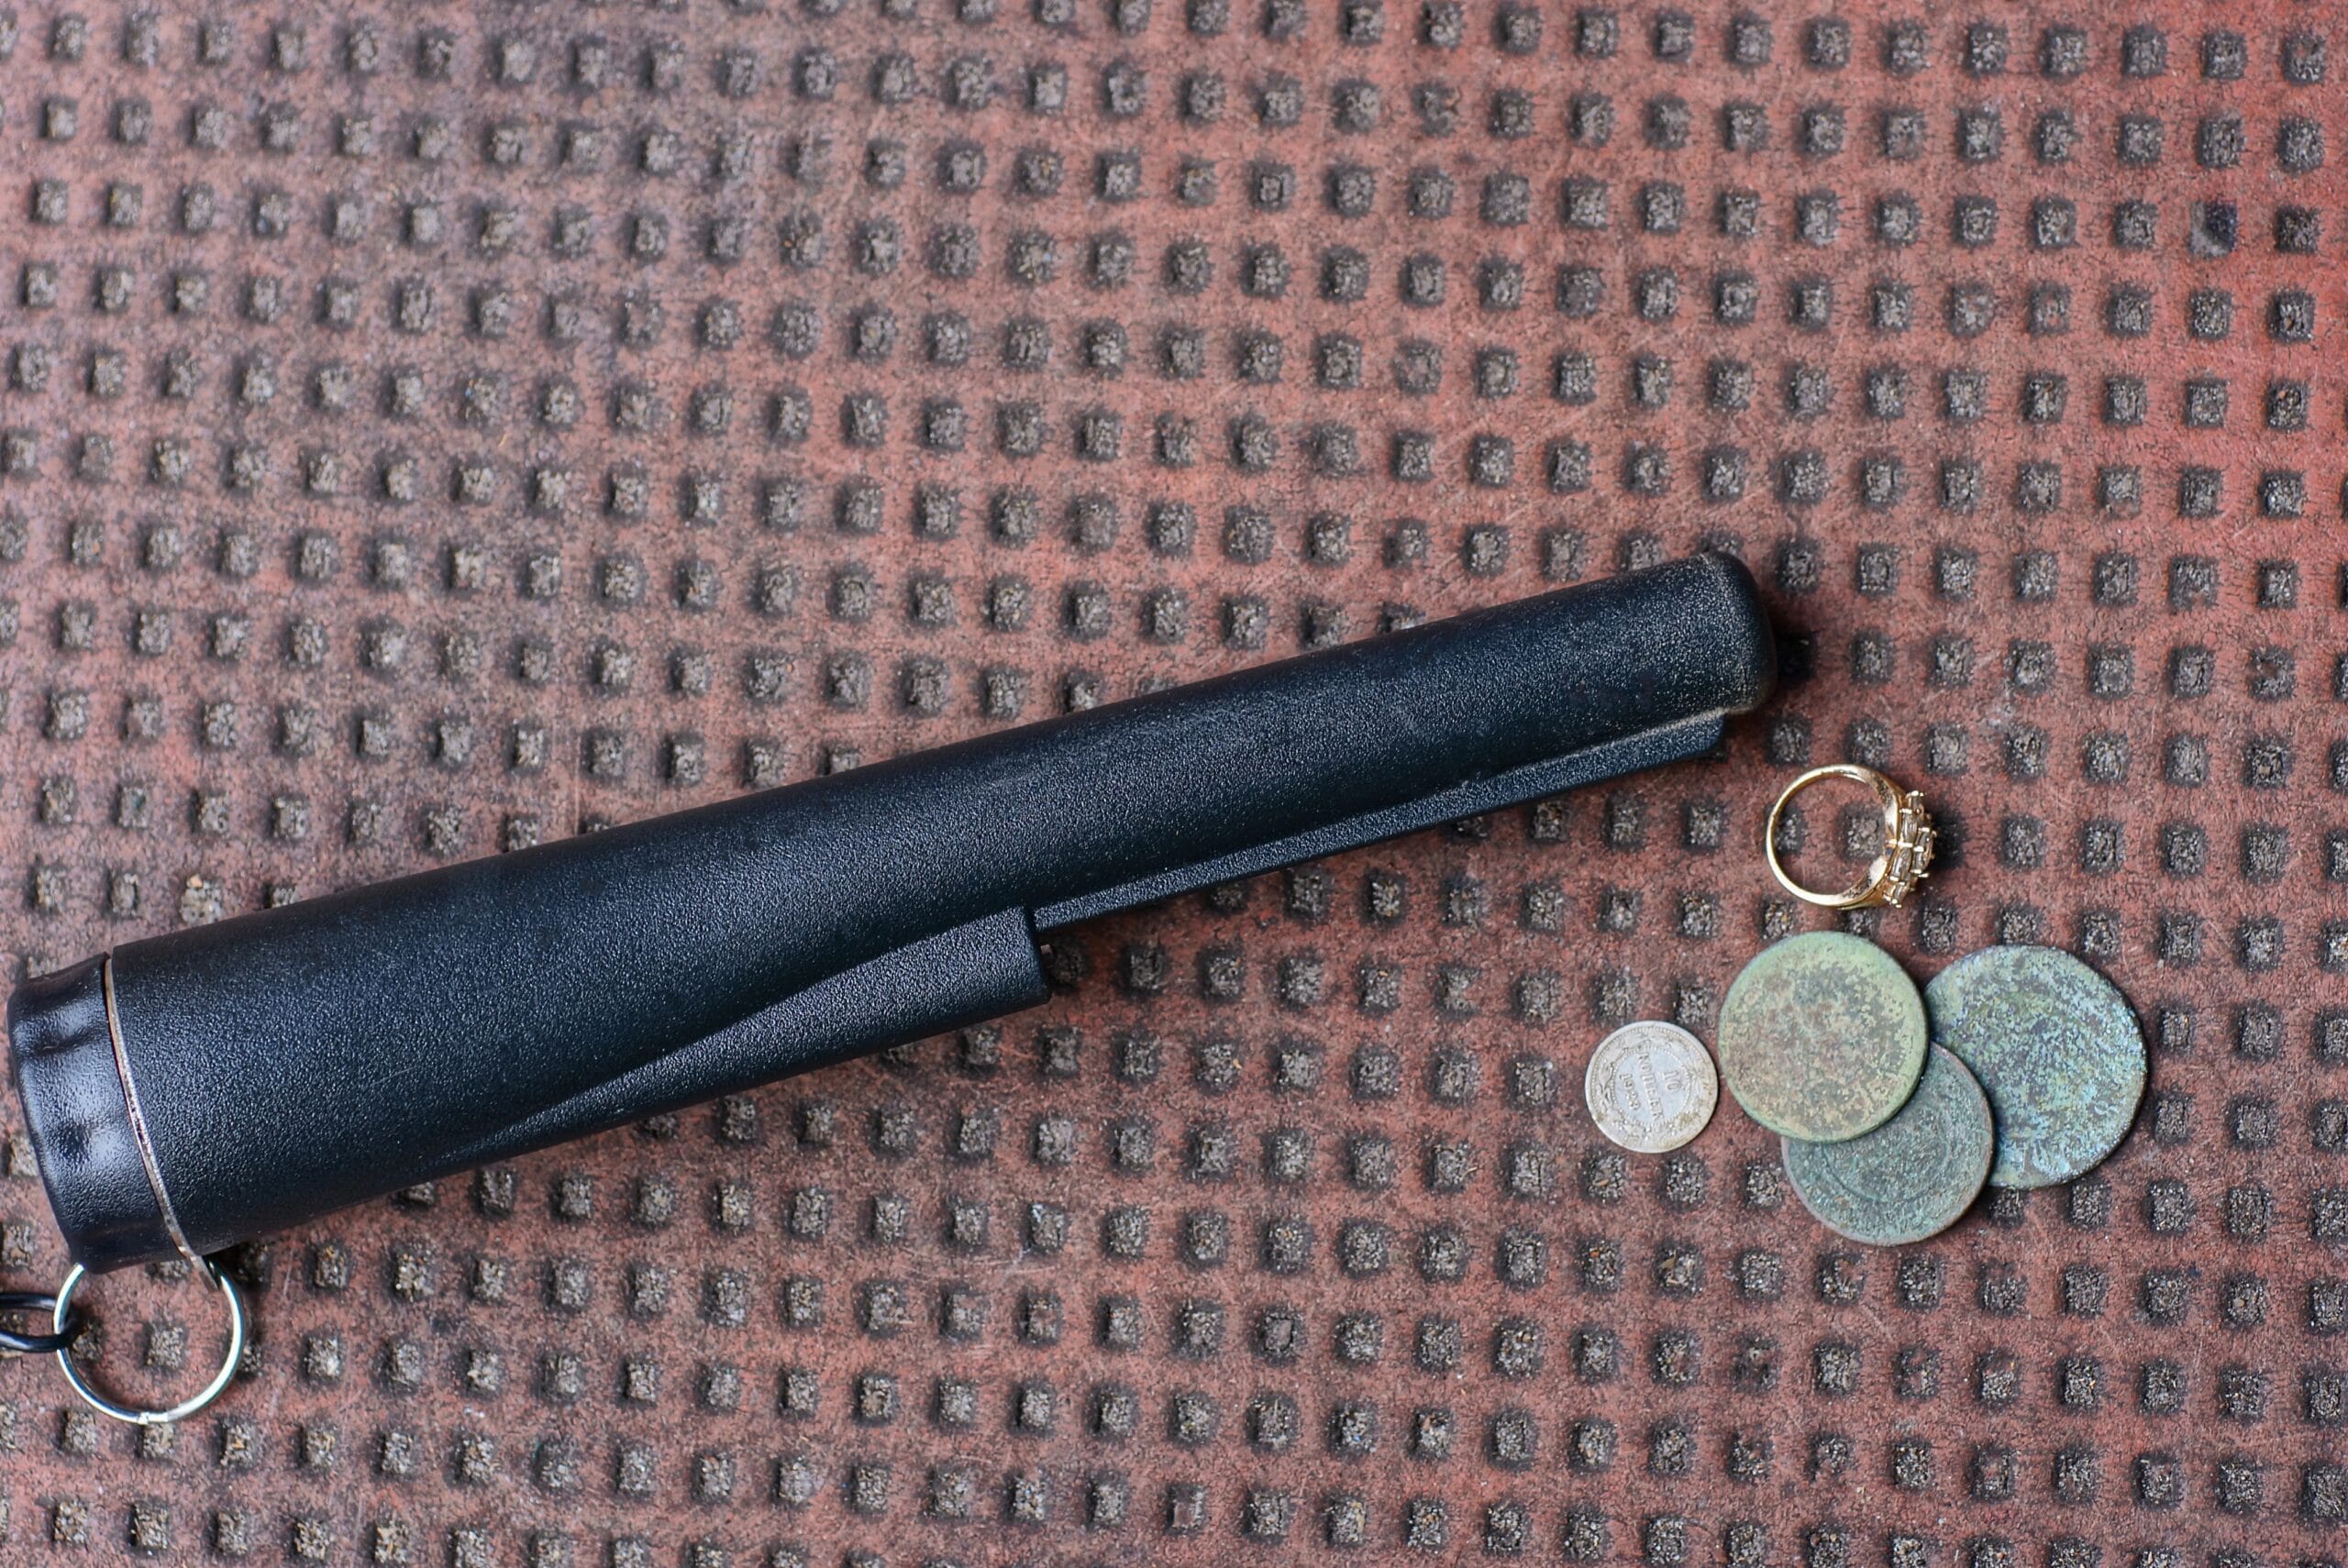
A pinpointer is essentially an “add-on†or supplement to your regular detector.
Once you find a potential target, this accessory helps you find the exact location saving you time from having to aimlessly search and dig.
While it’s not required, it is a pretty inexpensive tool that can save you a lot of time and improve your satisfaction, not to mention provide you with more finds.
Digging Deeper: Best PinPointers For Metal Detecting
Don’t Just Give One Look
Due to the depth function of detectors (with variation among different detectors), you could find a good location that may have even more underneath. If you’re looking for coins, relics, or things found in multiples, this is the secret to getting a lot of value from one dig:
- If you find something, take it out and keep digging. You could use your detector again, or your pinpointer, to scope out anything else underlying.
“Hunted Out†Versus “Oversaturated†Locations
“Hunted out†means a place has been discovered by other hunters. Typically, it’s known amongst other metal detector enthusiasts, such as an old town full of relics.
“Oversaturated†means that so many people know about it that it’s been wiped clean of anything notable. For example, a beach full of people looking for the same thing you are.
Your best bet is to find a local group and consider the abundance of treasure from a specific place while factoring in its popularity. You want a place that’s hunted out, not well-known, yet not oversaturated.
A little research goes a long way to find the ideal place. Finding an area with a lower population, or some private, possibly a secluded place is the way to go.
Digging
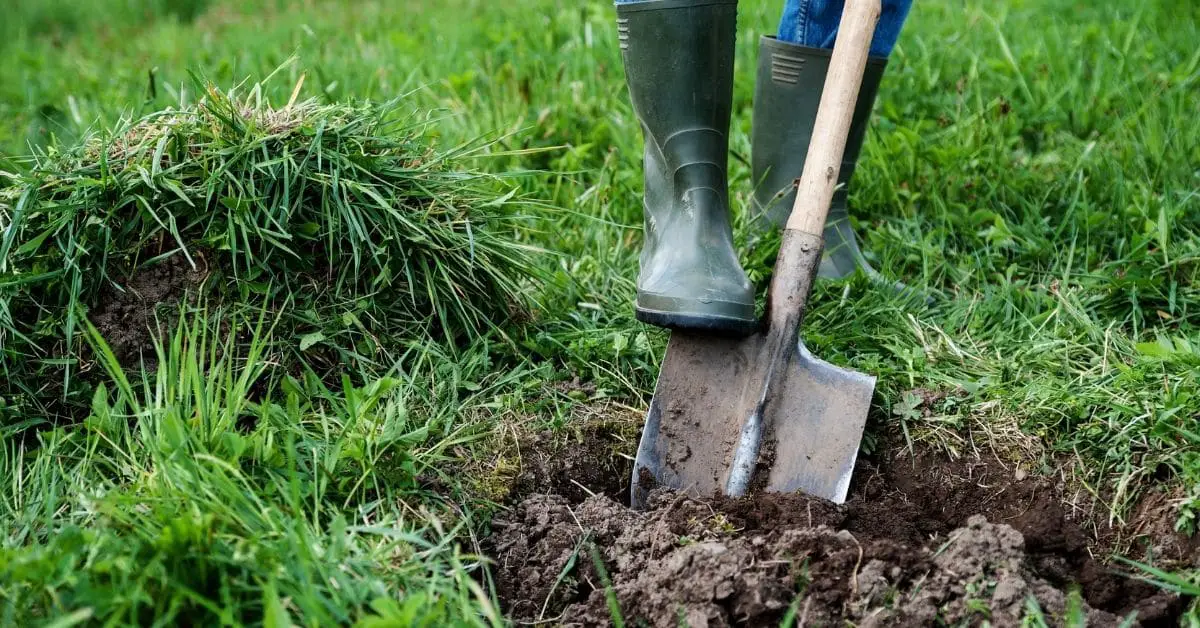
When Just Starting Out, Dig Everything
The first time you go out, chances are you’ll find a lot of trash. Don’t get discouraged though. In fact, use this as a chance to practice honing your skills.
Dig everything you think will be good, based on a little research and a little intuition. Going through this exercise will help You get familiar with the sounds and how to read your detector.
Make a mental (or written) note of how each thing you find:
- Sounds,
- The signal’s frequency and pitch of beeps, and
- The depth.
Digging Deeper: Best Metal Detecting Digging Tools
Best Practices & Pro Tips
Testing
The first thing you can do when you purchase a new metal detector is to perform a “bench testâ€.
There are various forms of this test, of which the top 3 are listed. While some people say testing is useless, others truly think it helps. If nothing else, it can help you familiarize yourself with sounds for efficiency when detecting – especially if you’re looking for something specific.
- The standard bench test is good for general knowledge of your metal detector. First, put your detector on its side, then place a plastic table or something similar next to it.
Gather various metals – especially things you’ll be looking for when you go metal detecting.
Wave the items around your detector and you’ll quickly notice what sounds are associated with each object.
You can also try this with gold instead if that’s the only thing you’re looking for.
- The recovery speed test is great if you’re detecting at a site with a lot of trash, as it tests how fast your detector can reset in between the objects it finds.
Place 4 coins in a line 8 inches apart. Wave the coil on your detector back and forth until it misses the middle 2 coins.
When it starts missing, you know you’re swinging too fast and this lets you know the pace you can go.
- The test garden is performed to gain familiarity with depth.
Take 3 coins and bury them at different depths, each about a foot apart. Do the same with 3 smaller coins. Bury one small and one large at 4 inches, then at 6, then at 8.
Get Familiar With Depth
Speaking of depth, the tone is typically fainter and frequently gets overlooked. However, it’s important to recognize that louder sounds don’t necessarily indicate more value.
Even experienced hobbyists make the common error of neglecting softer sounds. It seems like common sense to aim for the louder sounds, but it’s not necessarily in your best interest.
Hence, a mix of practice with the depth garden test and acuity to the pitch of gold is paramount to getting what you want.
You could also try simply putting gold up to the coil of your detector and moving it in various directions, noting the pitch like you would in the garden test.
This will train you to filter out the blaring of large trash and useless coins (if you aren’t looking for those things, of course).
Filter Depth Out
In addition to becoming more aware of the sound of gold, it’s important to tailor your equipment to what you’re looking for.
When searching for gold, use a detector with a smaller range so as not to sift through the depth of so many other, random objects. Filtering this “noise†out will leave you with a more focused approach of only listening for gold nuggets.
If you want to focus on gold at any depth, that’s still feasible.
You can tailor your detector, too. Make sure to get a wide detector, so that you have larger depth detection.
The coils are what penetrate the depth, so make sure the coils are strong and lengthy.
Features to Look For in a Metal Detector
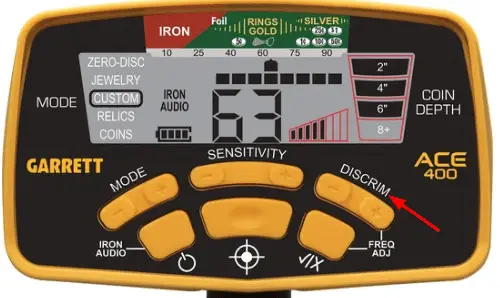
As you know, the two primary skills when you start are to listen for both pitch and repeatability. However, there are some other important features you can find in a metal detector to help you tremendously.
Some detectors will step up your game and take you from novice to pro with the click of a button. Consider your purpose for metal detecting and customize your detector accordingly!
Feature: Object Size
Some detectors may show the size of an object, however, this feature can be unpredictable.
It really depends on what you’re looking for. If you’re looking for large pieces of gold, this would be a great feature to consider when purchasing. It can indicate the size of the gold nugget.
Some detectors even have a coinciding feature that predicts what it thinks the item is!
However, if you’re on a quest to find coins or smaller objects, the detector may struggle to pinpoint the object’s type and size.
Metal detectors are great at predicting the type of metal, although, they aren’t quite as good with estimating size, especially if something’s broken up.
For smaller objects, this feature may be unnecessary.
Feature: Screening Out
Again, it’s important to consider exactly what you’re looking for. You may be looking for any metal at all, or simply a range of higher-pitched metals.
However, if you are using the detector to only find gold nuggets, or perhaps a missing wedding ring, some detectors possess this accuracy.
To search for these types of items, you can do something called “screening out.â€
It’s usually a little setting that allows for either a range to be screened out or simply all but one metal.
Be careful, as some detectors only allow one metal to be searched for, while others allow a range. Not all screening out features is the same!
Best Metal Detectors For Gold
Take a look at these top 3 picks for metal detectors to find some of your own gold!
Bounty Hunter Tracker 4


The Bounty Hunter Tracker 4 is great for beginners finding gold, and it’s inexpensive! It has a lot of features for the price and is great for just starting out or casually exploring! Click on the button below to check it out on Amazon.
Garrett Ace 300

The Garrett Ace 300 is great if you want to metal detect frequently and you have a bit more experience. It’s also great for long hunts and finding gold! Click on the button below to check out the Garrett Ace 300 on Amazon.
Fisher Gold Bug

This is the priciest detector on the list, but also the most worthwhile – especially for the most experienced hunters. The payoff is worth the investment, as this is specifically for finding gold! Click the button below to check out the Fisher Gold Bug on Amazon.
The Sound of Gold Conclusion
You never know what you’ll find when metal detecting. It’s just one of those hobbies that have so many hidden possibilities you would never have considered. Keep an open mind and have some patience, then dig based on those little signals.
The anticipation is part of the fun anyway.
Now that you know more of what to listen for when metal detecting, let’s go out and find some gold! Until next Time Happy Treasure Hunting!!
